In this guide, you'll learn how to connect an SMTP account in LeaduxAI using your SMTP credentials and server settings.
LeaduxAI allows you to connect your own email accounts via SMTP settings for use in your AI-driven outreach campaigns through your email provider's or custom servers. This gives you complete control over your sender account's performance.
Watch the video below for a step-by-step guide on adding an email account in LeaduxAI:
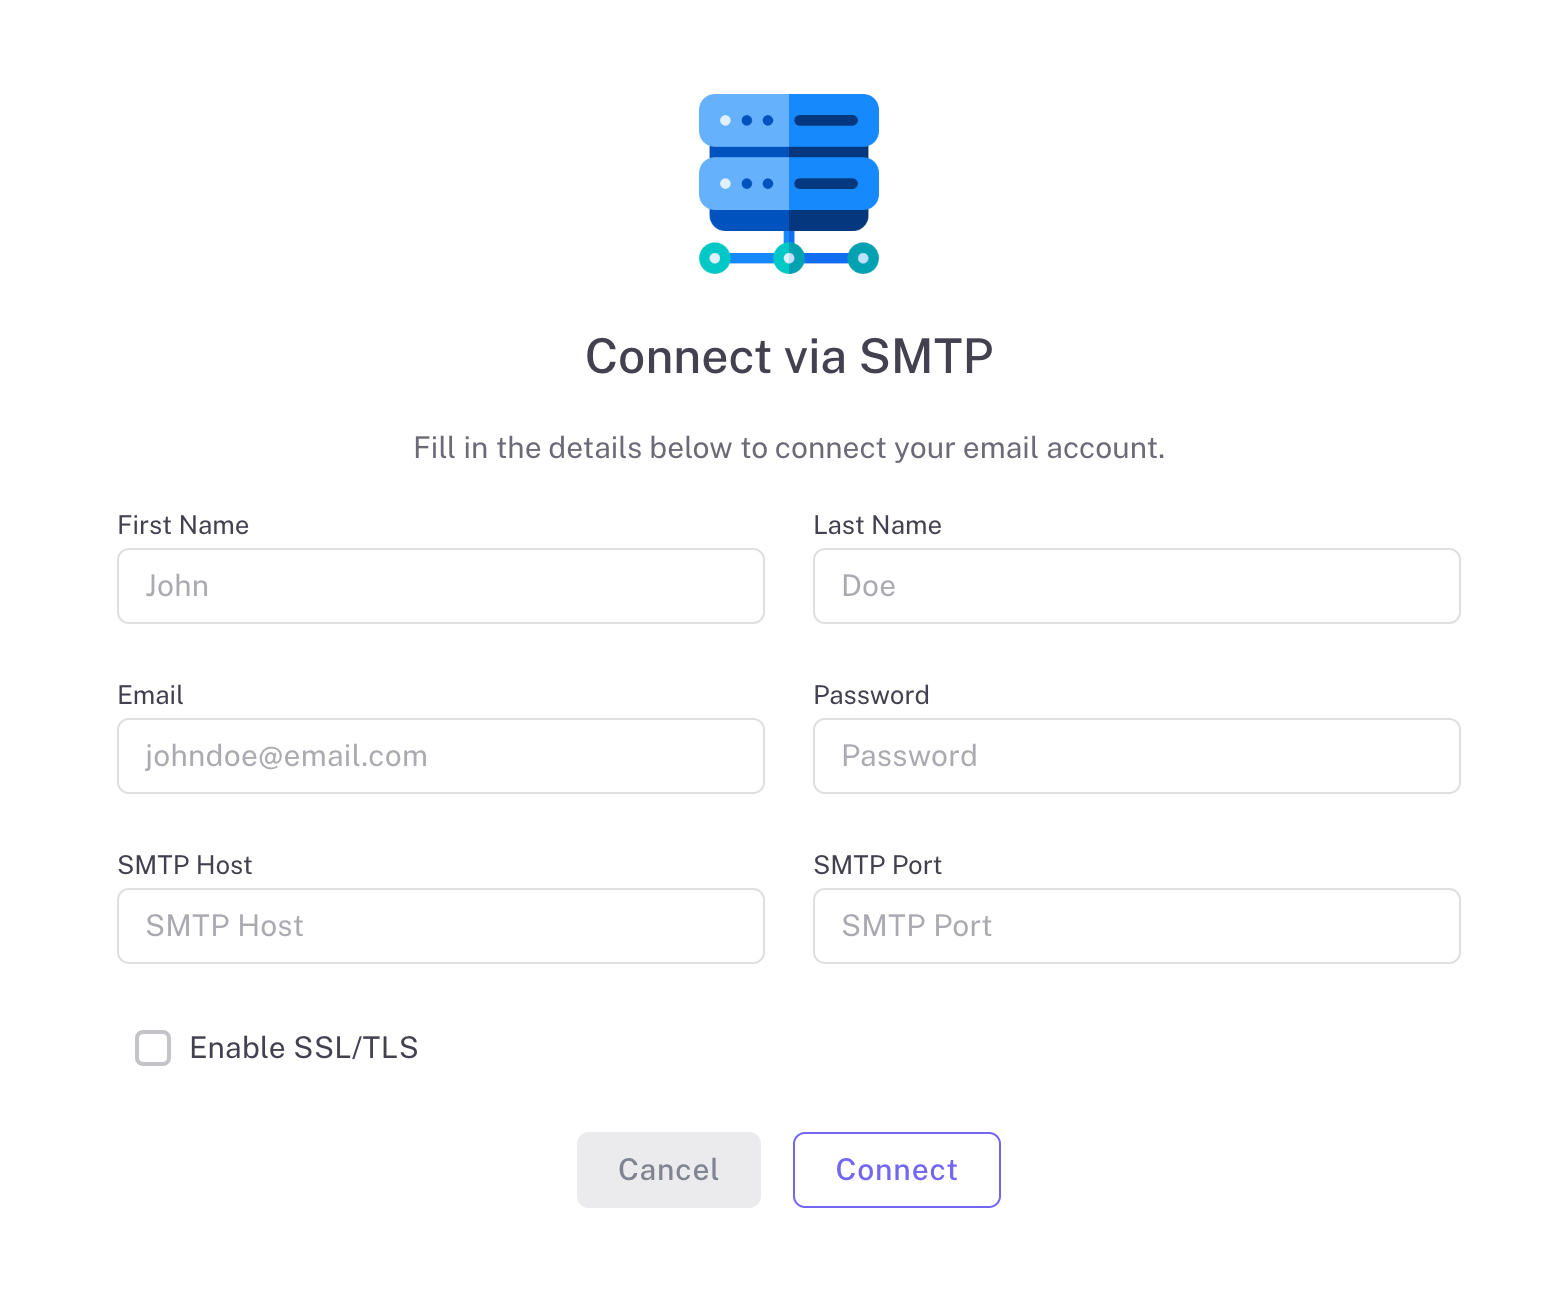
You'll see a form titled "Connect via SMTP". Fill in the following details:
| Field | Description |
|---|---|
| First Name | Your first name or the name you want to appear as the sender |
| Last Name | Your last name |
| The email address you'll be sending from | |
| Password | The password for your email account |
| SMTP Host | The address of your email provider's SMTP server (e.g., smtp.gmail.com for Gmail) |
| SMTP Port | The port number for your SMTP server (common ports are 587 for TLS or 465 for SSL) |

Make sure to check the "Enable SSL/TLS" box if your email provider requires it.
If you're unsure about your SMTP settings, check your email provider's documentation or contact their support.
After filling in all fields, click "Connect".
LeaduxAI will attempt to establish a connection with your SMTP server using the provided credentials. If successful, your email account will be added to LeaduxAI, and you can start using it in your campaigns. If you encounter any issues, ensure that:
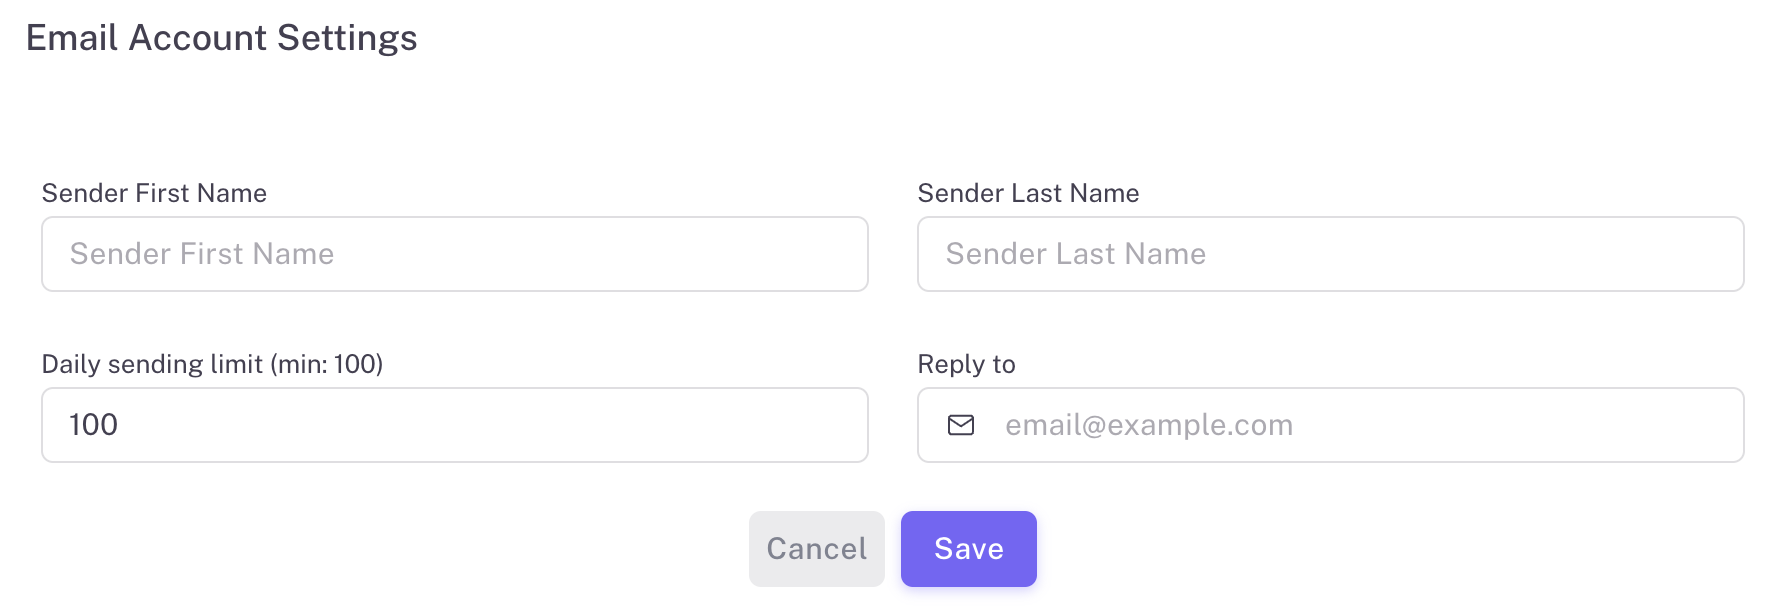
Once your email account is added, you can configure additional settings:
You'll see a form like this:

Here you can adjust:
Remember to click "Save" after making any changes.
When creating a new campaign in LeaduxAI:
This allows you to distribute your outreach across multiple sender accounts, improving deliverability and avoiding send limits on individual accounts.
If you encounter any issues while setting up your email accounts or campaigns, don't hesitate to contact our support team at support@leaduxai.io. We're here to ensure you get the most out of your AI-powered outreach campaigns.